It’s always a good idea to begin by cutting only a portion of the fabric required for any pattern. Once you’ve made tester units/blocks you can cut more.
Mystery quilts aren’t assembled in order so one set of fabric doesn’t necessarily have anything to do with the next. Some of the following steps are still in the mystery format but you can move ahead to view the complete pattern.
Label all groups of cuts and pin them together or place them in baggies until needed.
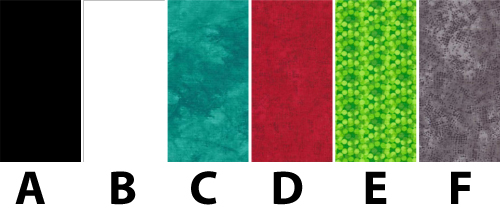
Fabric A
- (12) 4-1/2″ x 4-1/2″ squares
- Label A1
Fabric D
- (48) 4-1/2″ x 4-1/2″ squares
- Label D1
Fabric E
- (96) 2-1/2″ x 2-1/2″ squares
- Label E1
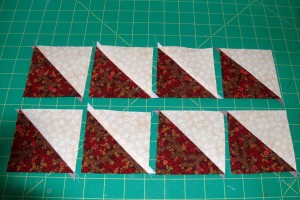
Half square triangle units are patchwork squares that each hold 1/2 of a triangle, like the illustrations on the right in the photo below.
Today’s clues are a mixture of cutting and sewing. Why? Because the instructions are for a batch of half-square triangle units and there are many ways to put those units together. One caution, do not use the method you might have seen in online videos where two large squares are aligned and then a seam sewn around all edges before cutting the squares apart. That technique results in triangle square units with the stretchy bias on their outer edges. Sure, it’s fast, but wouldn’t you prefer to have accurate quilt blocks?
Choose option 1 or option 2. NOT BOTH. Or use any method that results in units that measure 4-1/2″ x 4-1/2″.
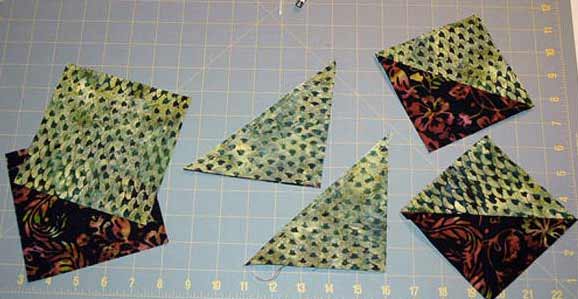
PAY NO ATTENTION TO COLORS IN PHOTOS
OPTION 1. Cutting for Scrappy HST Units or for Units Made from the Same Fabrics
Fabric B
- (24) 4-7/8″ x 4-7/8″ squares
- B1
Fabric C
- (24) 4-7/8″ x 4-7/8″ squares
- C1
Instructions
- Draw a diagonal line from one corner to the opposite corner on each lightest square.
- Pair a B square with a C square, all edges matched. Secure with a pin if necessary to hold in place. A quick press with an iron will do the same thing.
- Sew a line a scant 1/4″ from each side of the drawn line.
- When all units are sewn take them to the ironing board. Press flat as-is to set the seams.
- Cut apart on the original drawn line.
- Place the C fabric of each unit against the ironing board and carefully finger press each unit open.
- Press, easing the tip of the iron very carefully into the seam between the two fabrics. Press flat and remove triangular ‘dog ears’ at the ends of each seam.
- Measure. The half-square triangle unit should measure 4-1/2″ x 4-1/2″.
- Once your units are the correct size use chain piecing techniques to feed them through the sewing machine one after the other without breaking seams.
- Make (48) B / C half-square triangle units that measure 4-1/2″ x 4-1/2″. Set aside and label B/C 1.
OPTION 2. Magic 8 Half Square Triangle units
The Magic 8 half square triangle unit lets you easily sew eight identical triangles at once. It’s an accurate assembly method that I think you will appreciate once you’ve tried it a few times.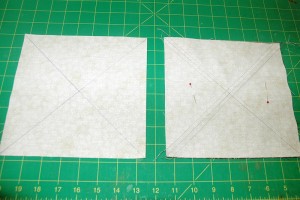
-
- Press the B and C fabrics with starch or sizing to make them less stretchy.
- Cut one 9-3/4″ x 9-3/4″ Fabric B square and one Fabric C square of the same size.
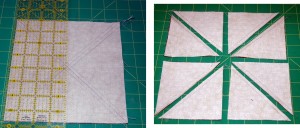
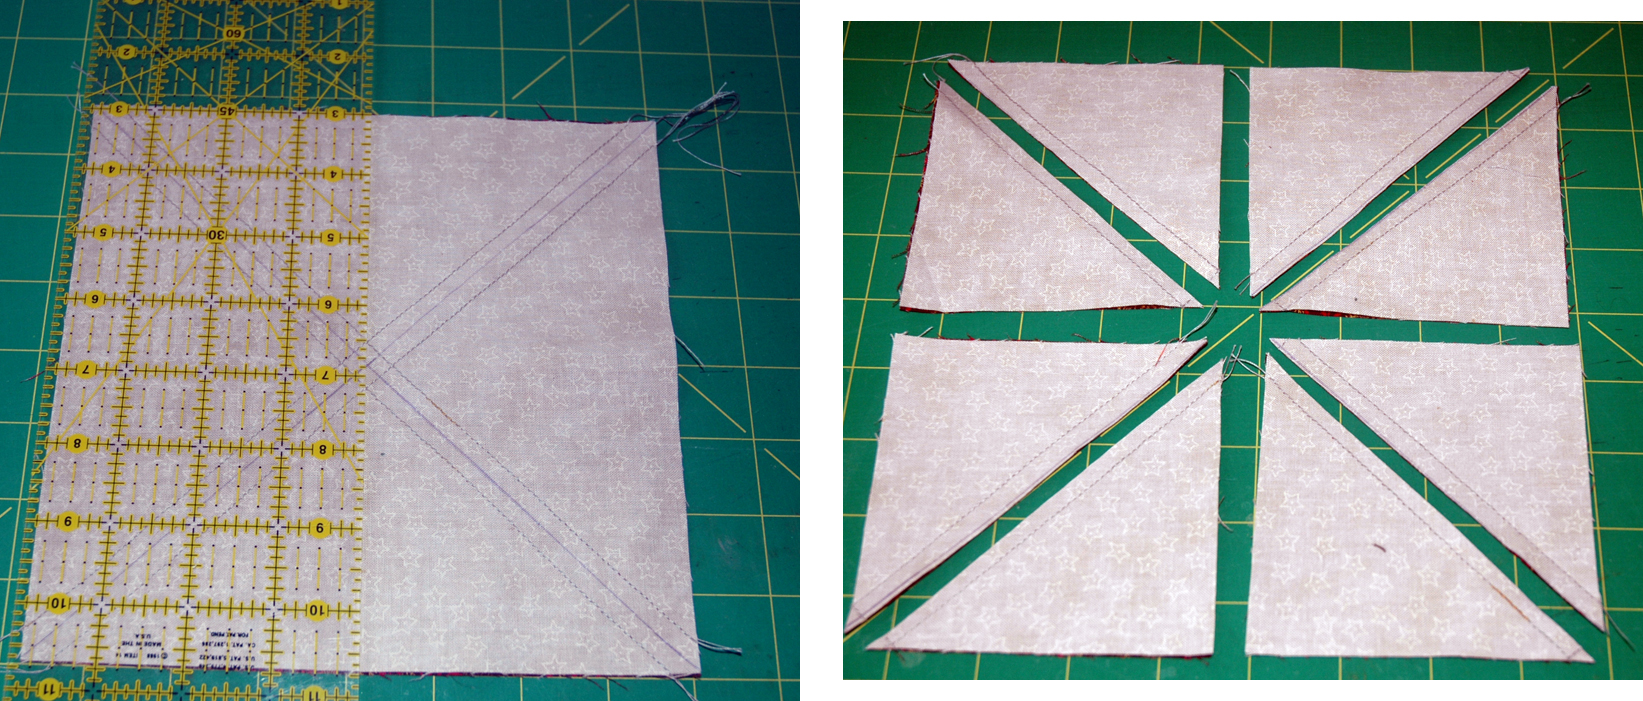
- Draw two diagonal lines on the reverse side of the lightest square as shown below.
- Draw two more lines, one along the horizontal midpoint and one along the vertical midpoint.
- If you do not have a 1/4″ presser foot draw additional lines a scant 1/4″ on each side of the original lines. These will be your sewing lines.
- Align the large light C square with the darker B squares, all edges matched perfectly. add a couple of straight pins to keep fabrics from shifting — setting a hot iron on top of the pair helps the stick together, too.
- Sew a seam on the second set of marked lines or use your 1/4 inch presser foot to sew scant 1/4″ seams. Scant seams are a tiny bit narrower than 1/4″.
- Cut through both layers on the original drawn lines.
 Press as explained before. You should have eight half-square triangle units that measure 4-1/2′ x 4-1/2″.
- If yours are slightly different adjust your seam allowance slightly for the next batch.
- Repeat, cutting additional large squares until you have a total of 48 half-square triangle units that measure 4-1/2″ square.
- Label B/C1 and set aside.
Other Construction Techniques
You’ll find rulers and other types of sewing aids to help you create half-square triangle units. Any method is fine as long as your units measure 4-1/2″ x 4-1/2″ after assembly.